Dify安装部署几种方式
Dify安装部署几种方式
01 介绍
Dify介绍
Dify 是一款开源的大语言模型(LLM) 应用开发平台。它融合了后端即服务(Backend as Service)和 LLMOps 的理念,使开发者可以快速搭建生产级的生成式 AI 应用。即使你是非技术人员,也能参与到 AI 应用的定义和数据运营过程中。
由于 Dify 内置了构建 LLM 应用所需的关键技术栈,包括对数百个模型的支持、直观的 Prompt 编排界面、高质量的 RAG 引擎、稳健的 Agent 框架、灵活的流程编排,并同时提供了一套易用的界面和 API。这为开发者节省了许多重复造轮子的时间,使其可以专注在创新和业务需求上。
为什么使用 Dify?
你或许可以把 LangChain 这类的开发库(Library)想象为有着锤子、钉子的工具箱。与之相比,Dify 提供了更接近生产需要的完整方案,Dify 好比是一套脚手架,并且经过了精良的工程设计和软件测试。
重要的是,Dify 是开源的,它由一个专业的全职团队和社区共同打造。你可以基于任何模型自部署类似 Assistants API 和 GPTs 的能力,在灵活和安全的基础上,同时保持对数据的完全控制。
我们的社区用户对 Dify 的产品评价可以归结为简单、克制、迭代迅速。 ——路宇,Dify.AI CEO
希望以上信息和这份指南可以帮助你了解这款产品,我们相信 Dify 是为你而做的(Do It For You)。
02 支持的部署方式
Docker Compose 部署:轻量级,快速部署
源码部署:重量使用,扩展性高,部署麻烦
03 部署准备工作
安装Docker
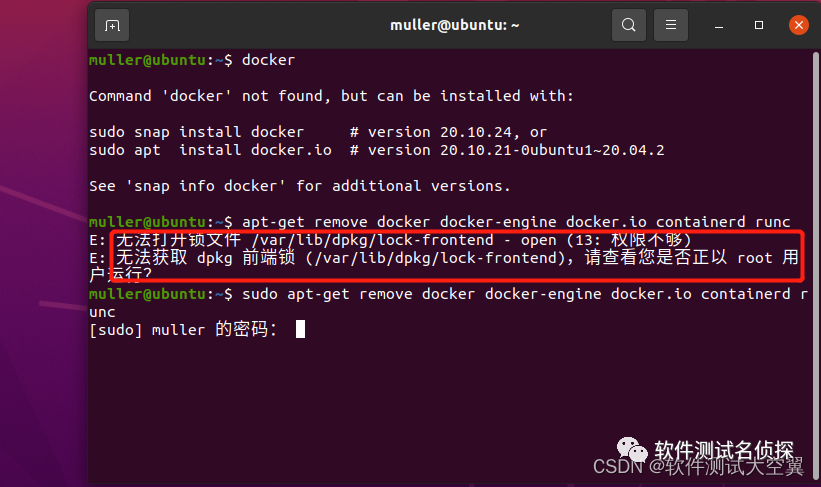
检查卸载老版本docker
ubuntu下自带了docker的库,不需要添加新的源。 但是ubuntu自带的docker版本太低,需要先卸载旧的再安装新的。
注:docker的旧版本不一定被称为docker,docker.io 或 docker-engine也有可能,所以我们卸载的命令为:
1 | |
如果不能正常卸载,出现如下情况,显示无权限时,需要添加管理员权限才可进行卸载:
安装步骤
- 更新软件包
在终端中执行以下命令来更新Ubuntu软件包列表和已安装软件的版本:
1 | |
安装docker依赖
Docker在Ubuntu上依赖一些软件包。执行以下命令来安装这些依赖:
1
2
3
4
5
6
7
8
9
10
11
12
13# Add Docker's official GPG key:
sudo apt-get update
sudo apt-get install ca-certificates curl
sudo install -m 0755 -d /etc/apt/keyrings
sudo curl -fsSL https://download.docker.com/linux/debian/gpg -o /etc/apt/keyrings/docker.asc
sudo chmod a+r /etc/apt/keyrings/docker.asc
# Add the repository to Apt sources:
echo \
"deb [arch=$(dpkg --print-architecture) signed-by=/etc/apt/keyrings/docker.asc] https://download.docker.com/linux/debian \
$(. /etc/os-release && echo "$VERSION_CODENAME") stable" | \
sudo tee /etc/apt/sources.list.d/docker.list > /dev/null
sudo apt-get update注:该命令需要使用root权限
安装docker
执行以下命令来安装Docker:
1
sudo apt-get install docker-ce docker-ce-cli containerd.io docker-buildx-plugin docker-compose-plugin运行Docker
我们可以通过启动
docker来验证我们是否成功安装。命令如下:1
sudo systemctl start docker设置docker开机自启动
1
sudo systemctl enable docker
安装Docker Compose
参考Docker官网文档安装Docker Compose
文章链接为:https://docs.docker.com/compose/install/linux/#install-the-plugin-manually
要下载并安装Compose CLI插件
1 | |
此命令下载Docker Compose的最新版本(从Compose releases repository),并在$HOME目录下为活动用户安装Compose。
给docker-compose添加执行权限
1 | |
测试docker-compose是否安装成功
1 | |
映射docker-compose命令
1 | |
配置Docker pull使用代理加速
在国内拉取Docker注册表上的镜像时考虑到国内的互联网环境(网络因素,被墙等)会拉取失败或者贼慢的情况我们需要给Docker配置一下pull加速
添加代理配置文件,添加代理配置内容
在执行docker pull时,是由守护进程dockerd来执行。因此,代理需要配在dockerd的环境中。而这个环境,则是受systemd所管控,因此实际是systemd的配置。
创建/etc/systemd/system/docker.service.d目录,通常情况下docker.service.d目录是不存在的。
1 | |
创建http-proxy.conf配置文件,在这个http-proxy.conf文件(可以是任意*.conf的形式)中,添加以下内容:
1 | |
其中,http://proxy.example.com:8080 要换成可用的免密代理。
重启Docker服务
1 | |
重新尝试docker pull
1 | |
04 Docker Compose 部署
前提条件
安装 Dify 之前, 请确保你的机器已满足最低安装要求:
- CPU >= 2 Core
- RAM >= 4 GiB
| 操作系统 | 软件 | 描述 |
|---|---|---|
| macOS 10.14 or later | Docker Desktop | 为 Docker 虚拟机(VM)至少分配 2 个虚拟 CPU(vCPU) 和 8GB 初始内存,否则安装可能会失败。有关更多信息,请参考《在 Mac 内安装 Docker 桌面端》。 |
| Linux platforms | Docker 19.03 or later Docker Compose 1.28 or later | 请参阅安装 Docker和安装 Docker Compose以获取更多信息。 |
| Windows with WSL 2 enabled | Docker Desktop | 我们建议将源代码和其他数据绑定到 Linux 容器中时,将其存储在 Linux 文件系统中,而不是 Windows 文件系统中。有关更多信息,请参阅使用 WSL 2 后端在 Windows 上安装 Docker Desktop。 |
克隆 Dify 代码仓库
克隆 Dify 源代码至本地环境。
1 | |
启动 Dify
进入 Dify 源代码的 Docker 目录
1
cd dify/docker复制环境配置文件
1
cp .env.example .env启动 Docker 容器
根据你系统上的 Docker Compose 版本,选择合适的命令来启动容器。你可以通过
$ docker compose version 命令检查版本,详细说明请参考 Docker 官方文档:- 如果版本是 Docker Compose V2,使用以下命令:
1
docker compose up -d- 如果版本是 Docker Compose V1,使用以下命令:
1
docker-compose up -d
运行命令后,你应该会看到类似以下的输出,显示所有容器的状态和端口映射:
Copy
1 | |
最后检查是否所有容器都正常运行:
1 | |
在这个输出中,你应该可以看到包括 3 个业务服务 api / worker / web,以及 6 个基础组件 weaviate / db / redis / nginx / ssrf_proxy / sandbox 。
1 | |
通过这些步骤,你应该可以成功在本地安装 Dify。
更新 Dify
进入 dify 源代码的 docker 目录,按顺序执行以下命令:
1 | |
同步环境变量配置 (重要!)
- 如果
.env.example 文件有更新,请务必同步修改您本地的.env 文件。 - 检查
.env 文件中的所有配置项,确保它们与您的实际运行环境相匹配。您可能需要将.env.example 中的新变量添加到.env 文件中,并更新已更改的任何值。
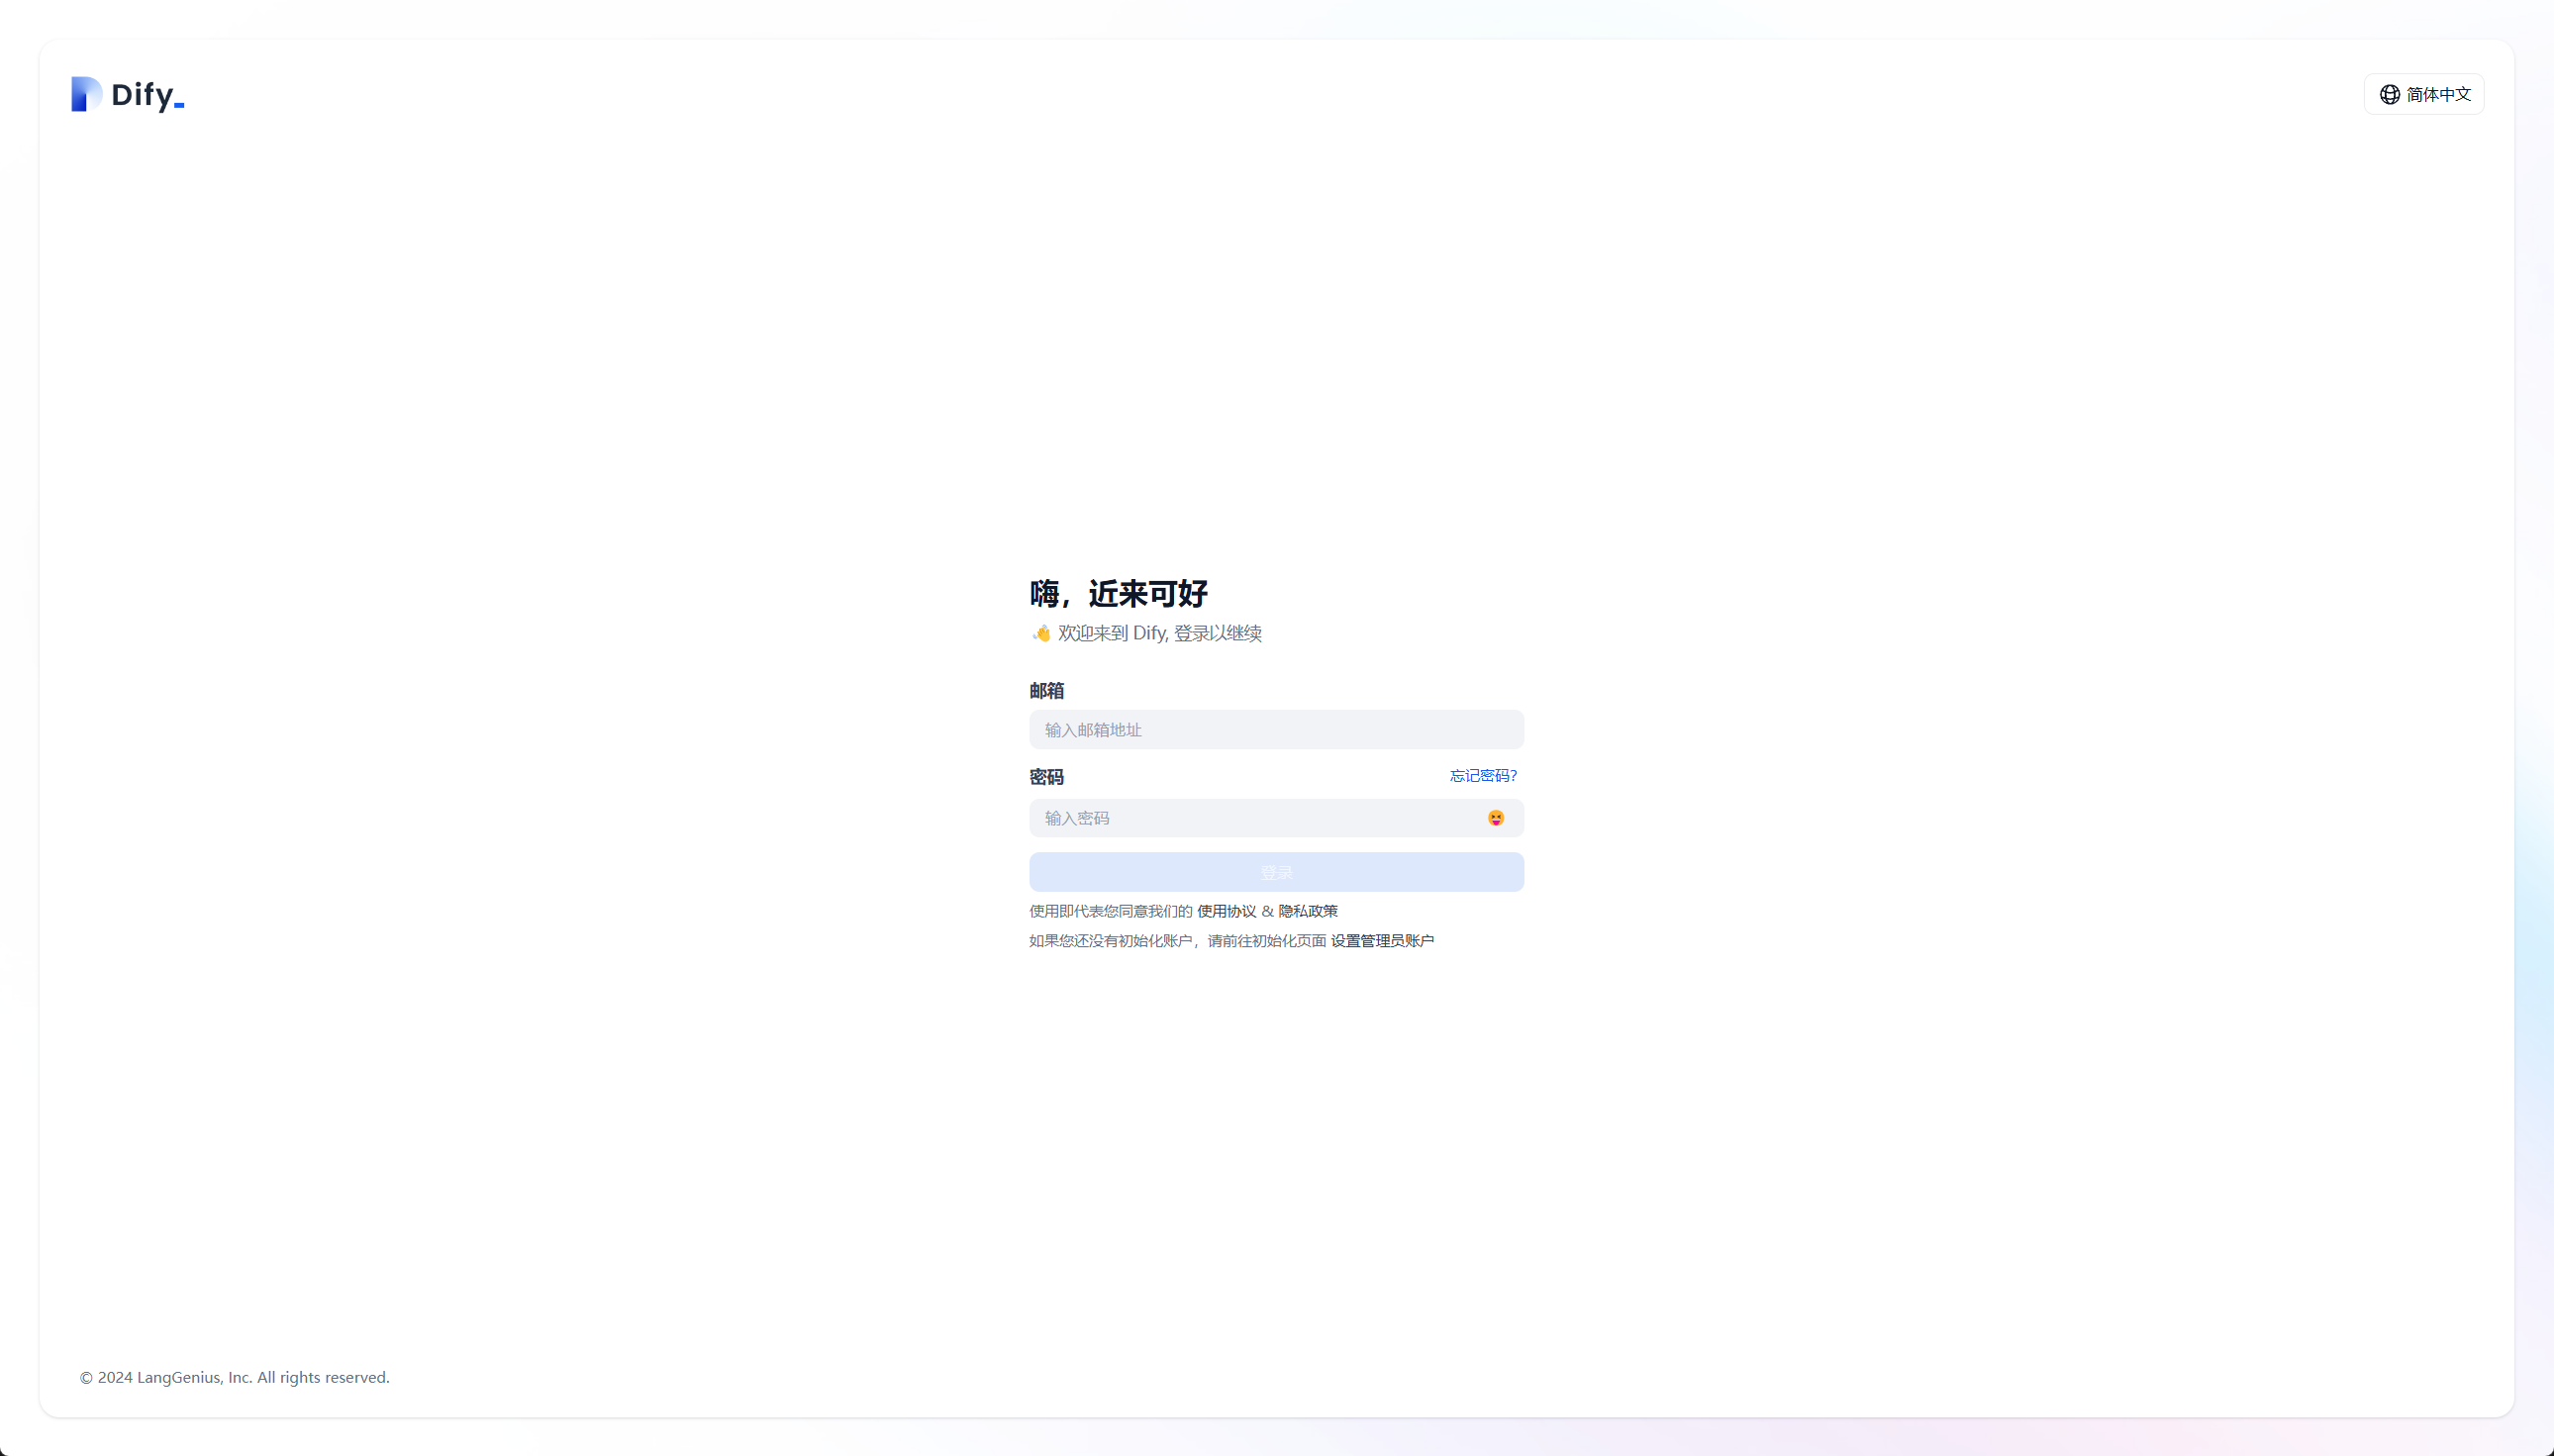
访问 Dify
你可以先前往管理员初始化页面设置设置管理员账户:
1 | |
Dify 主页面:
1 | |
自定义配置
编辑 .env 文件中的环境变量值。然后重新启动 Dify:
1 | |
完整的环境变量集合可以在 docker/.env.example 中找到。
05 源码安装
前置条件
安装 Dify 之前, 请确保你的机器已满足最低安装要求:
- CPU >= 2 Core
- RAM >= 4 GiB
| 操作系统 | 软件 | 说明 |
|---|---|---|
| macOS 10.14 or later | Docker Desktop | 将 Docker 虚拟机(VM)设置为使用至少 2 个虚拟 CPU(vCPU)和 8 GB 的初始内存。否则,安装可能会失败。有关更多信息,请参阅在 Mac 上安装 Docker Desktop。 |
| Linux platforms | Docker 19.03 or later Docker Compose 1.25.1 or later | 请参阅安装 Docker和安装 Docker Compose以获取更多信息。 |
| Windows with WSL 2 enabled | Docker Desktop | 我们建议将源代码和其他数据绑定到 Linux 容器中时,将其存储在 Linux 文件系统中,而不是 Windows 文件系统中。有关更多信息,请参阅使用 WSL 2 后端在 Windows 上安装 Docker Desktop。 |
若需要使用 OpenAI TTS,需要在系统中安装 FFmpeg 才可正常使用,详情可参考:Link。
Clone Dify 代码:
1 | |
在启用业务服务之前,我们需要先部署 PostgresSQL / Redis / Weaviate(如果本地没有的话),可以通过以下命令启动:
1 | |
服务端部署
- API 接口服务
- Worker 异步队列消费服务
安装基础环境
服务器启动需要 Python 3.10.x。建议使用 pyenv 快速安装 Python 环境。
安装pyenv
安装 pyenv 依赖库
安装 pyenv 需要依赖的库很多。
1 | |
安装 pyenv
pyenv 是一个 Python 版本管理工具,它能够进行全局的 Python 版本切换,也可以为单个项目提供对应的 Python 版本。
使用 pyenv 以后,可以在服务器上安装多个不同的 Python 版本。不同 Python 版本之间的切换也非常简单。
pyenv 官方地址:
通常来说,安装一个开源程序需要自己编译和下载相关依赖包,但是作者提供了一个简易的安装器,只需要一条命令即可搞定安装。
1 | |
pyenv.run 重定向到 GitHub 内的安装脚本,上面这句命令等同于:
1 | |
配置环境变量,将安装路径写入 ~/.bashrc:
输入指令编辑vim ~/.bashrc
1 | |
使配置立刻生效:
source ~/.bashrc
如果路径第一个结尾是 shims 则表示成功:
1 | |
升级 pyenv<可选>
如果想升级pyenv执行以下命令
1 | |
删除 pyenv<可选>
如果想卸载 pyenv(pyenv 安装的默认路径为 ~/.pyenv,如果自定义安装路径则删除自定义文件夹):
1 | |
使用 pyenv 安装Python 3.10版本
安装python 3.10 依赖扩展
1
2$ sudo apt-get install libc6-dev gcc
$ sudo apt-get install -y make build-essential libssl-dev zlib1g-dev libbz2-dev libreadline-dev libsqlite3-dev wget curl llvm安装Python 3.10
1
$ pyenv install 3.10切换到 “3.10” Python 环境,请使用以下命令:
1
$ pyenv global 3.10
安装poetry
Dify API 服务使用 Poetry 来管理依赖,所以需要安装poetry,后续可以执行
poetry shell 来激活环境。
安装Poetry
Poetry安装使用官方提供的安装脚本进行安装的。输入以下命令:
1 | |
设置Poetry环境变量,使Poetry命令能全局执行
安装完成后,Poetry 将提示您将其 bin 目录添加到您的 $PATH 以便在命令行中启用 poetry,使用vim文本编辑器打开 ~/.bashrc 文件添加如下配置完成poetry命令配置。
1 | |
检查Poetry是否安装成功
要检查 poetry 命令现在是否可用,请输入以下内容以显示当前的 Poetry 版本:
1 | |
启动 api 服务
进入 api 目录
1
$ cd api复制环境变量配置文件
1
$ cp .env.example .env生成随机密钥,并替换
.env 中SECRET_KEY 的值1
$ awk -v key="$(openssl rand -base64 42)" '/^SECRET_KEY=/ {sub(/=.*/, "=" key)} 1' .env > temp_env && mv temp_env .env安装依赖包
Dify API 服务使用 Poetry 来管理依赖。您可以执行
poetry shell 来激活环境。1
2$ poetry env use 3.10
$ poetry install执行数据库迁移
将数据库结构迁移至最新版本。
1
2$ poetry shell
$ flask db upgrade启动 API 服务
1
$ flask run --host 0.0.0.0 --port=5001 --debug正确输出:
1
2
3
4
5
6
7
8* Debug mode: on
INFO:werkzeug:WARNING: This is a development server. Do not use it in a production deployment. Use a production WSGI server instead.
* Running on all addresses (0.0.0.0)
* Running on http://127.0.0.1:5001
INFO:werkzeug:Press CTRL+C to quit
INFO:werkzeug: * Restarting with stat
WARNING:werkzeug: * Debugger is active!
INFO:werkzeug: * Debugger PIN: 695-801-919使用systemctl管理dify api服务
- 创建dify-api.service配置文件
1
2
3
4
5
6
7
8
9
10
11
12
13
14
15
16
17
18
19
20
21# 创建dify-api.service文件
$ sudo vim /etc/systemd/system/dify-api.service
$ sudo cat /etc/systemd/system/dify-api.service
[Unit]
Description=Dify Api Service
After=network.target
[Service]
# 代理
Environment="HTTP_PROXY=http://127.0.0.1:7890"
Environment="HTTPS_PROXY=http://127.0.0.1:7890"
Environment="NO_PROXY=localhost,127.0.0.1,docker-registry.somecorporation.com"
WorkingDirectory=/usr/app/dify/api
ExecStart=/root/.local/bin/poetry run flask run --host 0.0.0.0 --port=5001 --debug
Restart=always
User=root
Group=root
[Install]
WantedBy=multi-user.target- dify-ap服务管理
1
2
3
4
5
6# 启动dify-api.service
$ sudo systemctl daemon-reload
$ sudo systemctl restart dify-api
# 设置dify-api.service开机自启动
$ sudo systemctl enable dify-api启动 Worker 服务
用于消费异步队列任务,如数据集文件导入、更新数据集文档等异步操作。 Linux / MacOS 启动:
1
$ celery -A app.celery worker -P gevent -c 1 -Q dataset,generation,mail,ops_trace --loglevel INFO如果使用 Windows 系统启动,请替换为该命令:
1
$ celery -A app.celery worker -P solo --without-gossip --without-mingle -Q dataset,generation,mail,ops_trace --loglevel INFO正确输出:
1
2
3
4
5
6
7
8
9
10
11
12
13
14
15
16
17
18
19
20
21
22
23
24
25
26
27
28
29
30
31
32
33
34
35
36
37
38
39-------------- celery@TAKATOST.lan v5.2.7 (dawn-chorus)
--- ***** -----
-- ******* ---- macOS-10.16-x86_64-i386-64bit 2023-07-31 12:58:08
- *** --- * ---
- ** ---------- [config]
- ** ---------- .> app: app:0x7fb568572a10
- ** ---------- .> transport: redis://:**@localhost:6379/1
- ** ---------- .> results: postgresql://postgres:**@localhost:5432/dify
- *** --- * --- .> concurrency: 1 (gevent)
-- ******* ---- .> task events: OFF (enable -E to monitor tasks in this worker)
--- ***** -----
-------------- [queues]
.> dataset exchange=dataset(direct) key=dataset
.> generation exchange=generation(direct) key=generation
.> mail exchange=mail(direct) key=mail
[tasks]
. tasks.add_document_to_index_task.add_document_to_index_task
. tasks.clean_dataset_task.clean_dataset_task
. tasks.clean_document_task.clean_document_task
. tasks.clean_notion_document_task.clean_notion_document_task
. tasks.create_segment_to_index_task.create_segment_to_index_task
. tasks.deal_dataset_vector_index_task.deal_dataset_vector_index_task
. tasks.document_indexing_sync_task.document_indexing_sync_task
. tasks.document_indexing_task.document_indexing_task
. tasks.document_indexing_update_task.document_indexing_update_task
. tasks.enable_segment_to_index_task.enable_segment_to_index_task
. tasks.generate_conversation_summary_task.generate_conversation_summary_task
. tasks.mail_invite_member_task.send_invite_member_mail_task
. tasks.remove_document_from_index_task.remove_document_from_index_task
. tasks.remove_segment_from_index_task.remove_segment_from_index_task
. tasks.update_segment_index_task.update_segment_index_task
. tasks.update_segment_keyword_index_task.update_segment_keyword_index_task
[2023-07-31 12:58:08,831: INFO/MainProcess] Connected to redis://:**@localhost:6379/1
[2023-07-31 12:58:08,840: INFO/MainProcess] mingle: searching for neighbors
[2023-07-31 12:58:09,873: INFO/MainProcess] mingle: all alone
[2023-07-31 12:58:09,886: INFO/MainProcess] pidbox: Connected to redis://:**@localhost:6379/1.
[2023-07-31 12:58:09,890: INFO/MainProcess] celery@TAKATOST.lan ready.
使用systemctl管理dify Worker服务
- 创建dify-api.service配置文件
1 | |
- dify-ap服务管理命令
1 | |
前端页面部署
安装部署dify系统Web 前端客户端页面服务
安装基础环境
Web 前端服务启动需要用到 Node.js v18.x (LTS) 、NPM 版本 8.x.x 或 Yarn。
进入 https://nodejs.org/en/download,选择对应操作系统的 v18.x 以上的安装包下载并安装,建议 stable 版本,已自带 NPM。
关于NodeJS
Node.js 是一个跨平台的 JavaScript 运行环境,它构建在为了在服务器端运行 JavaScript 代码而设计的 Chrome JavaScript 上。它通常被用来构建后端应用,但是它也是非常流行的全栈和前端解决方案。npm 是 Node.js 的默认包管理工具,也是世界上最大的软件仓库。
本文我们将为大家讲解,在 Ubuntu 20.04 上安装 Node.js 和 npm 三种不同的方式。
- 从 Ubuntu 标准的软件源。这是在 Ubuntu 上安装 Node.js 和 npm 最简单的方式,并且对大部分用户场景都足够了。包含在 Ubuntu 软件源中的版本是
10.19.0。 - 从 NodeSource 源仓库。使用这个仓库,你可以安装不同版本的 Node.js,而不像 Ubuntu 仓库中那样只能安装一个版本。当前,NodeSource 支持Node.js
v14.x,v13.x,v12.x, 和v10.x。 - 使用
nvm(Node Version Manager)。这个工具允许你在同一台机器上安装多个 Node.js 版本。如果你是 Node.js 开发者,这可能是你最喜欢的安装 Node.js 的方式。
安装 Node.js 和 npm
1 | |
上面的命令将会安装一系列包,包括编译和安装从 npm 来的本地扩展。
安装完成后运行下面的命令,验证安装过程:
1 | |
NPM 加速:
1 | |
启动步骤
进入 web 目录
1
$ cd web安装依赖包
1
$ npm install配置环境变量。在当前目录下创建文件
.env.local,并复制.env.example中的内容。根据需求修改这些环境变量的值:Copy
1
2
3
4
5
6
7
8
9
10
11
12
13
14
15
16
17# For production release, change this to PRODUCTION
NEXT_PUBLIC_DEPLOY_ENV=DEVELOPMENT
# The deployment edition, SELF_HOSTED
NEXT_PUBLIC_EDITION=SELF_HOSTED
# The base URL of console application, refers to the Console base URL of WEB service if console domain is
# different from api or web app domain.
# example: http://cloud.dify.ai/console/api
NEXT_PUBLIC_API_PREFIX=http://localhost:5001/console/api
# The URL for Web APP, refers to the Web App base URL of WEB service if web app domain is different from
# console or api domain.
# example: http://udify.app/api
NEXT_PUBLIC_PUBLIC_API_PREFIX=http://localhost:5001/api
# SENTRY
NEXT_PUBLIC_SENTRY_DSN=
NEXT_PUBLIC_SENTRY_ORG=
NEXT_PUBLIC_SENTRY_PROJECT=构建代码
1
$ npm run build启动 web 服务
1
2
3
4
5$ npm run start
# or
$ yarn start
# or
$ pnpm start
正常启动后,终端会输出如下信息:
1 | |
启动 API 服务
1
$ flask run --host 0.0.0.0 --port=5001 --debug正确输出:
1
2
3
4
5
6
7
8* Debug mode: on
INFO:werkzeug:WARNING: This is a development server. Do not use it in a production deployment. Use a production WSGI server instead.
* Running on all addresses (0.0.0.0)
* Running on http://127.0.0.1:5001
INFO:werkzeug:Press CTRL+C to quit
INFO:werkzeug: * Restarting with stat
WARNING:werkzeug: * Debugger is active!
INFO:werkzeug: * Debugger PIN: 695-801-919使用systemctl管理dify web 服务
- 创建dify-web.service配置文件
1
2
3
4
5
6
7
8
9
10
11
12
13
14
15
16
17
18
19# 创建dify-web.service文件
$ sudo vim /etc/systemd/system/dify-web.service
$ sudo cat /etc/systemd/system/dify-web.service
[Unit]
Description=Dify Web Service
After=network.target
[Service]
WorkingDirectory=/usr/app/dify/web
ExecStart=/usr/bin/npm run start
Restart=always
User=root
Group=root
Environment=PATH=/usr/bin:/usr/local/bin
Environment=NODE_ENV=production
[Install]
WantedBy=multi-user.target- dify-ap服务管理
1
2
3
4
5
6# 启动dify-web.service
$ sudo systemctl daemon-reload
$ sudo systemctl restart dify-web.service
# 设置dify-web.service开机自启动
$ sudo systemctl enable web
访问 Dify
最后,访问 http://127.0.0.1:3000 即可使用本地部署的 Dify。
06 疑难杂症
6.1 Dify 忘记密码或错误如何重置?
https://docs.dify.ai/zh-hans/getting-started/faq/install-faq
忘记管理员密码时,可以通过登录界面中的点击《忘记密码》按钮发送重置密码邮件,进行重置密码。 当时在没有配置邮箱服务器时,此步骤是无法正常使用的。因此需要另外一种方法进行重置密码。
若使用 docker compose 方式部署,可执行以下命令进行重置
1
2docker exec -it docker-api-1 flask reset-password
# 输入账户 email 以及两次新密码即可。使用源码安装,可执行以下命令进行重置
1
2
3
4
5
6
7
8
9
10
11
12
13
14
15
16
17
18
19
20# 进入到api目录
cd /usr/app/dify/api
# 进入到poetry环境
poetry shell
# 输出例子
Spawning shell within /usr/app/dify/api/.venv
. /usr/app/dify/api/.venv/bin/activate
root@TM1701:/usr/app/dify/api# . /usr/app/dify/api/.venv/bin/activate
# 重置密码,输入账户 email 以及两次新密码即可。
flask reset-password
(dify-api-py3.10) root@TM1701:/usr/app/dify/api# flask reset-password
None of PyTorch, TensorFlow >= 2.0, or Flax have been found. Models won't be available and only tokenizers, configuration and file/data utilities can be used.
sagemaker.config INFO - Not applying SDK defaults from location: /etc/xdg/sagemaker/config.yaml
sagemaker.config INFO - Not applying SDK defaults from location: /root/.config/sagemaker/config.yaml
2025-02-12 17:46:49,962.962 WARNING [MainThread] [ext_mail.py:21] - MAIL_TYPE is not set
Email:清除Redis数据库缓存,修改密码后,如何没有清除redis缓存登录时还会提示登录失败。
1
2
3
4
5
6
7
8
9
10
11
12
13
14
15
16
17
18
19# 进入redis容器
docker exec -it docker-redis-1 sh
# 使用redis-cli命令路径redis数据库
/data # redis-cli
# 登录redis数据库,默认密码为“difyai123456”
AUTH difyai123456
# 查看keys缓存信息
127.0.0.1:6379> keys *
1) "refresh_token:7d177d5971609013a2c8a5634ce49de1d488332bb5961d8d69ce1a371a3abdeac65d9010df7a6f1e7c73508cbd6733e0c27e2235999ca593192919678ab688b4"
2) "reset_password:account:78837d37-83d0-4e21-88c0-25de52df8ee0"
3) "account_refresh_token:78837d37-83d0-4e21-88c0-25de52df8ee0"
4) "login_error_rate_limit:you-guess@qq.com"
# 删除keys缓存,这里建议删除全部缓存
127.0.0.1:6379> del login_error_rate_limit:you-guess@qq.com
(integer) 1
6.2 dify 升级
dify升级分为两种情况,一是通过源码安装,其升级成果的可能性为10%。官方文档中的升级操作步骤为:
6.2.1 源码安装
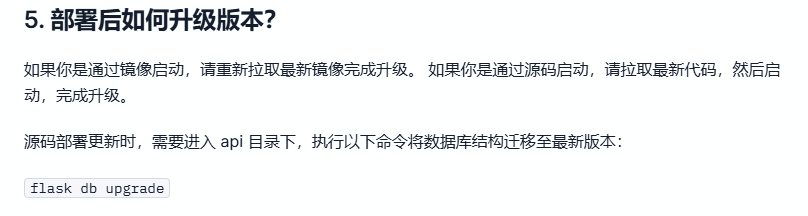
可谓是非常简洁。
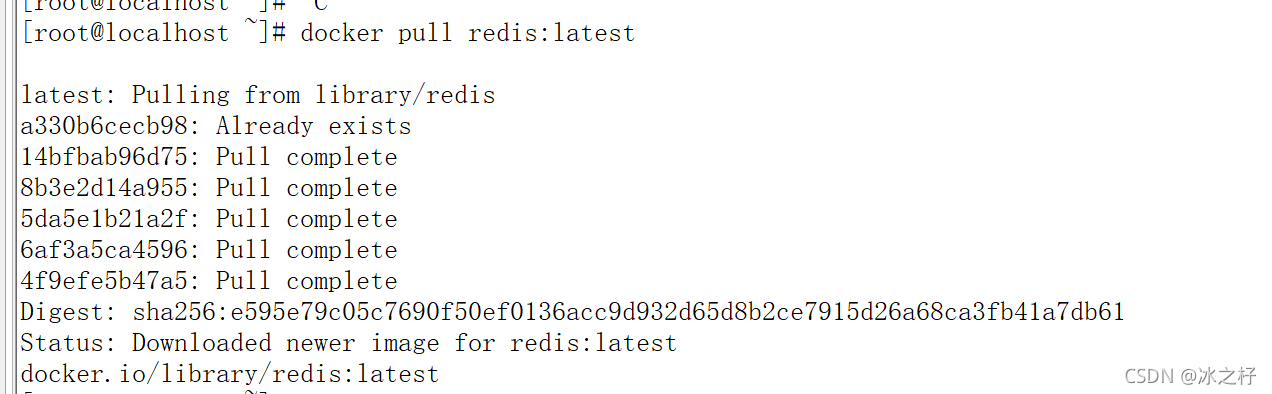
6.2.2 使用docker部署
使用docker pull 命令拉取最新的dify镜像,拉取最新的镜像后。重新启动dify服务。